
Control files are the foundation of spectral unmixing. You will need:
- Raw single stain controls: One for each fluorophore in your panel
- Raw unstained controls: Background/autofluorescence controls for each material type you use with your panel
- Representative full stain assay control (optional, strongly recommended): One or more files that contain representative staining for the experimental multicolor samples. This could be an assay control or an experimental full stain sample.
Uploading Control Files
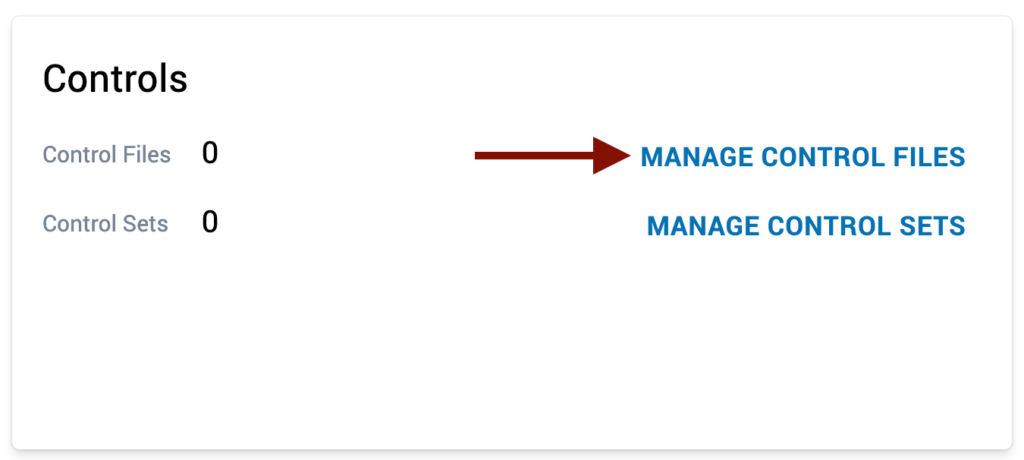
Navigate to the Controls card
- From your panel home page, click “Manage Control Files”
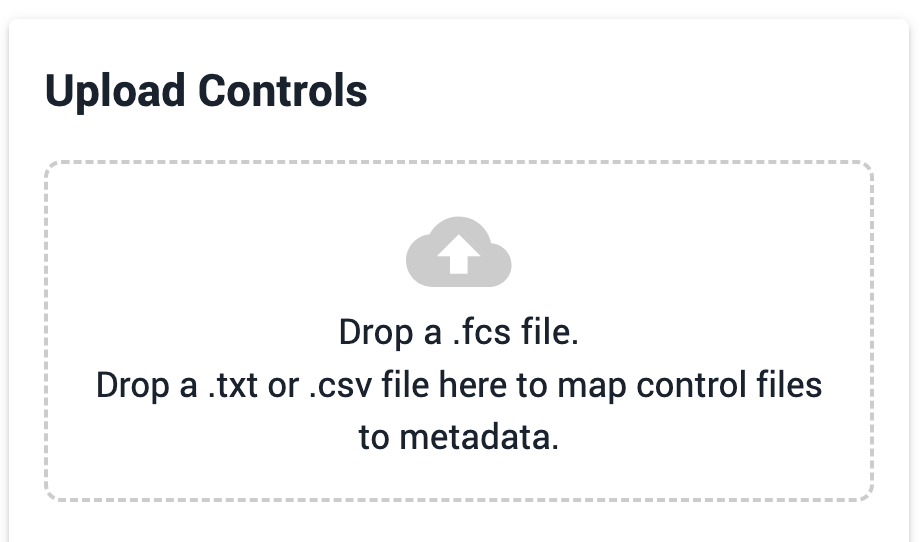
- At the far left is the upload zone titled “Upload Controls”. Use this upload zone to drag and drop files to upload them to Ozette Resolve.
- Once you drag and drop a file to be uploaded, the file will appear as a line item in the Manage Control Files card.
- While files are uploading, there will be a spinning circle at the far left of the corresponding line. This upload can take several minutes, depending on your internet speed. Wait until all files have finished uploading.
- Once uploaded you will see an orange (!) indicating that you need to update the file metadata before proceeding.
Add metadata
- We now need to provide the system with some additional information about the uploaded files.
- Again, the user can provide this information manually or upload a .csv file for efficiency.
- Use the upload zone (the same one shown above) to drag and drop a metadata file
- Required metadata for each control file:
- Control Type: SingleStain, Unstained, or AssayControl
- Protein: Target protein being measured by the fluorophore (for unstained files leave this blank)
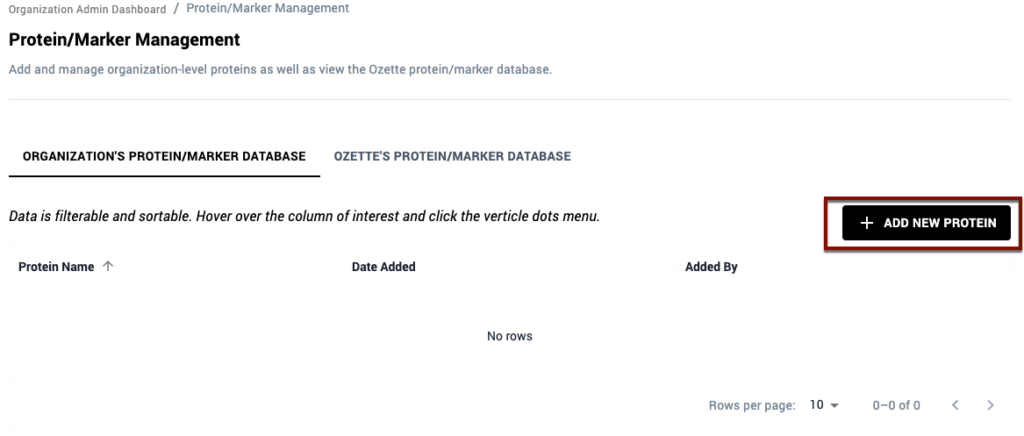
- Prepopulated in the dropdown are proteins/markers in the Ozette protein/marker database. Should the protein/marker you are looking for not be available, you can add it to your organization’s protein database by clicking on the “Protein/Marker Database button in the top right corner.
- This button will navigate you to a page where you can add proteins/markers as well as review the Ozette protein/marker database.
- Prepopulated in the dropdown are proteins/markers in the Ozette protein/marker database. Should the protein/marker you are looking for not be available, you can add it to your organization’s protein database by clicking on the “Protein/Marker Database button in the top right corner.
- Fluor: Fluorophore that is conjugated to that particular antibody (for unstained files leave this blank)
- Material: Material type (from the list of material you provided during panel definition)
- Peak Detector Name: Name of the expected peak detector for the fluorophore (needs to match to the one of the instrument detectors). For Cytek instruments, users can consult the Cytek Full Spectrum Viewer to determine this.
- Source of Background (optional): An unstained file of the same material type(s) as the control files. Resolve uses the Source of Background file to make event-level estimates of autofluorescence and calculate event-level spectra.
- Run Date: This field will be automatically populated upon upload of the .fcs files. When creating the metadata csv to populate other fields the accepted format for this column is YYYY-DD-MM.
- Once metadata annotation is complete, all files that have all necessary metadata will have a green checkmark under the Status column. The “Completed Control Files” progress bar at the far left will also show 100% completion.
- Once all files have been mapped to metadata, use the breadcrumb menu at the top of the page to return to your panel homepage.
- On the “Controls” card, you should now see the number of uploaded Control Files listed.
- Now, we will create a Control Set.
Optional: Delete control files
- You can delete control files so long as they have not been used in a control set.